Using Service Accounts to act on behalf of your Google Apps Users

Automated Interview Scheduling
At AlphaSights, we built an internal applicant tracking system and one of its coolest features is the ability to allow a candidate to pick an interview timeslot based on the interviewer's availability. Once a timeslot is confirmed, the system sends a calendar invite to both parties and books one of our available interview rooms.
Since we're powered by Google Apps it makes sense to use Calendar's API to directly send an invitation on behalf of our employee without needing him to grant permissions.
In the normal scheme, Google APIs use the standard 3 legged oauth flow, where basically the user authorizes the Client to access Google resources on his behalf. I picture 3 guys standing in a circle, user tells Google that it's okay for the app to get access to a certain action (scope).
Well, that won't work very well for server side features, such as adding a calendar event to everyone's calendars in an organization.
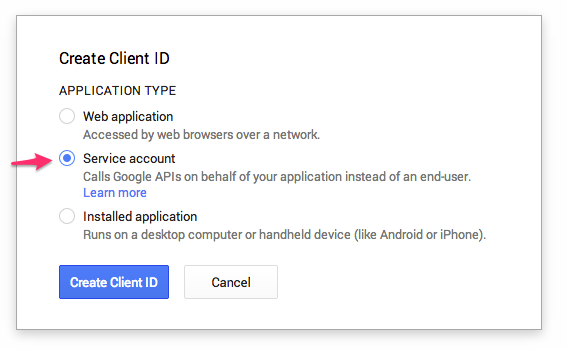
Service Accounts to the rescue
The Service Account is Google's solution to this and only works for users under Google apps domains. Under this scheme, administrators have the ability to act on behalf of any user.
However, the actions MUST still be user initiated, so you have to state which person you're impersonating (Google's term) for every request. For example, if I impersonated Kyle to delete Edward's calendar entry, it shouldn't work, because Kyle doesn't have the rights to delete Edward's calendar entry.
As far as I know, setting up a service account doesn't magically create a system user that has full access. You can get that effect by setting up a user who has full access and impersonating them (dangerous!)
So how does one set this up?
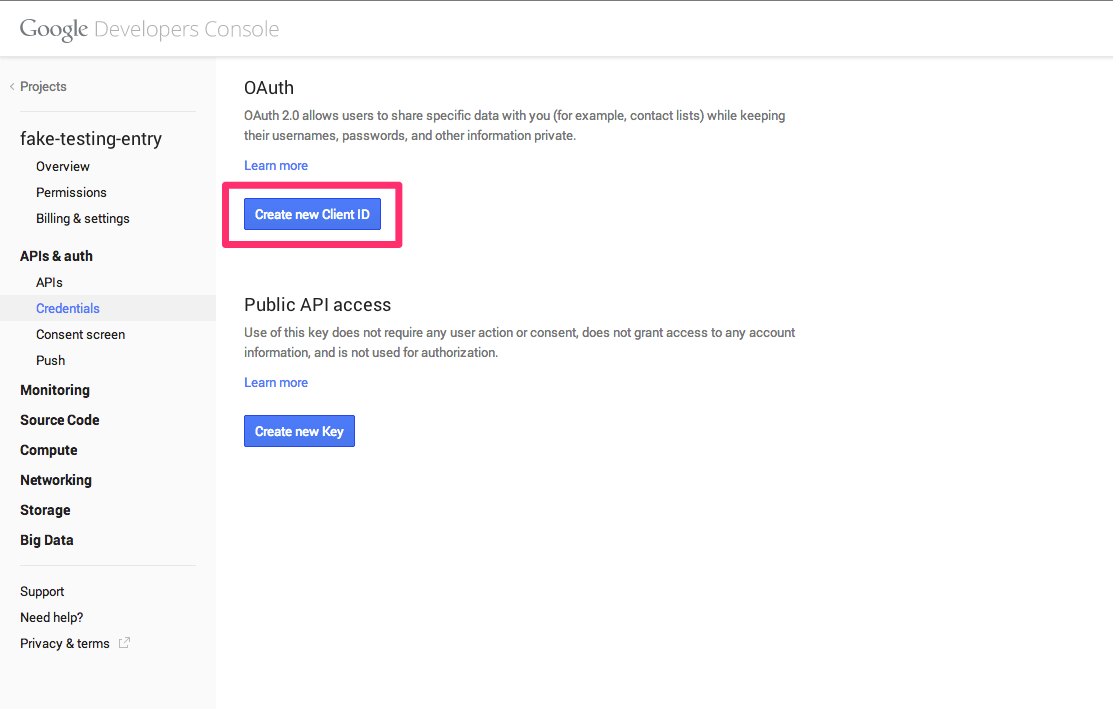
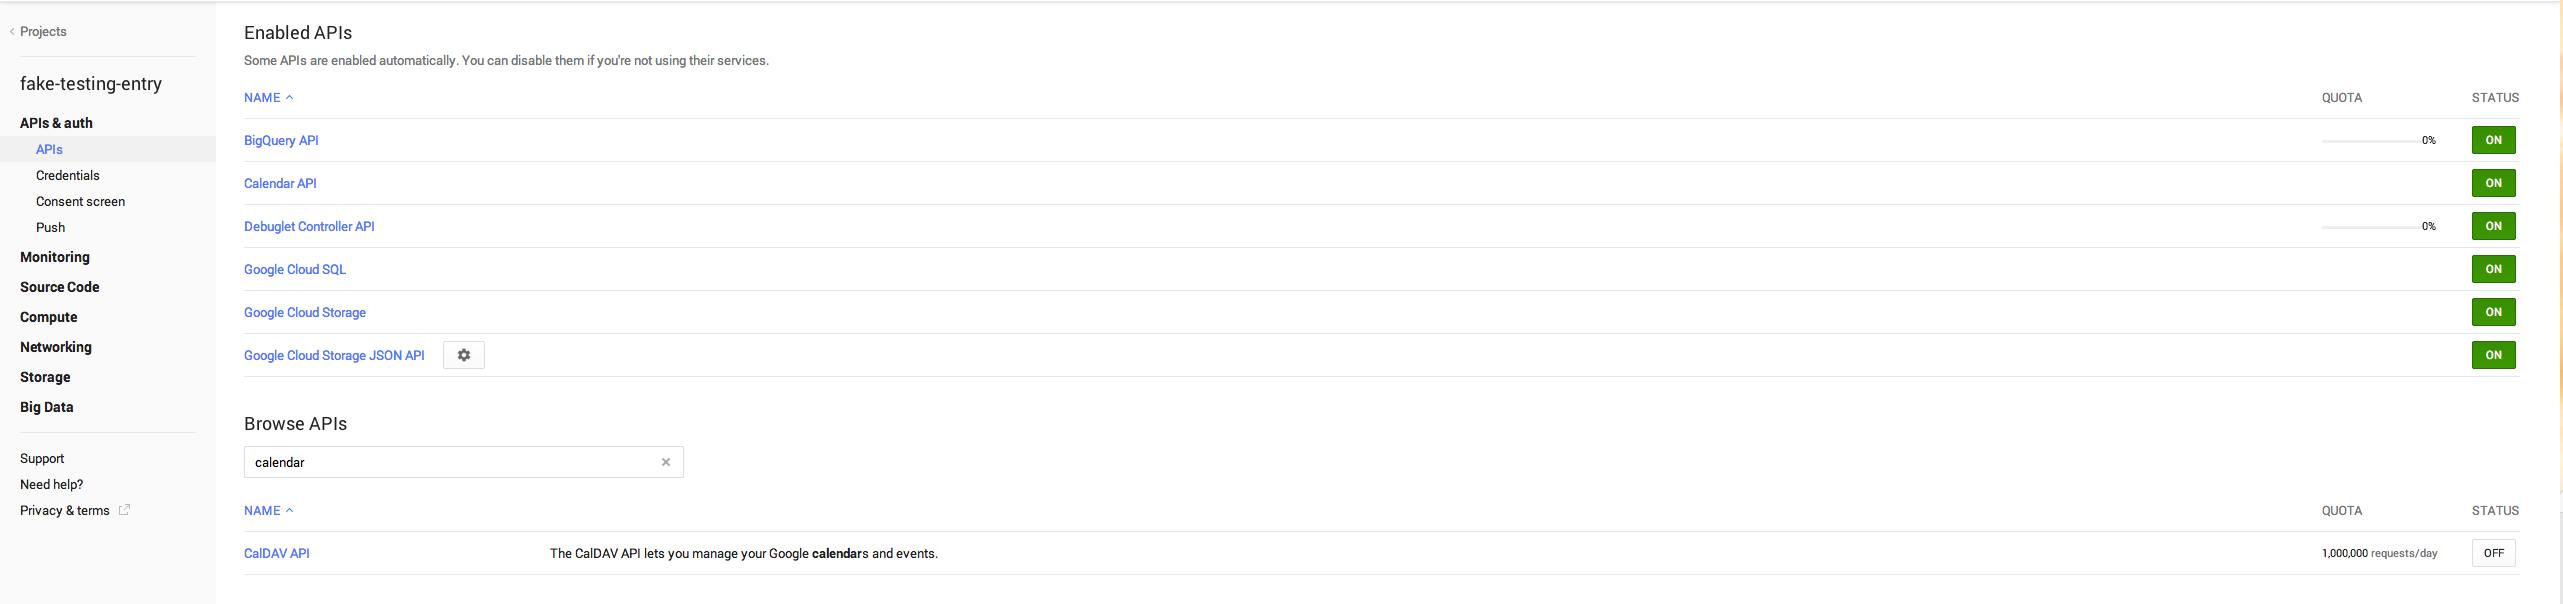
First, we need to setup a Google API project in Google's Developer Console, this is almost always the first step of using a Google API.
-
Setup a Project or use an existing one
-
Create a Client ID
- Generate a secret key
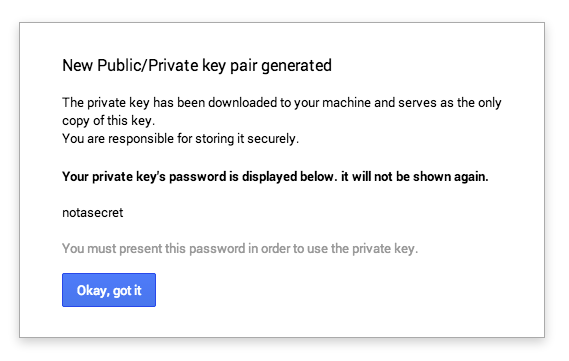
The p12 key is the secret used to sign your authorization request on the server.
- Take note of the
client_emailandclient_id
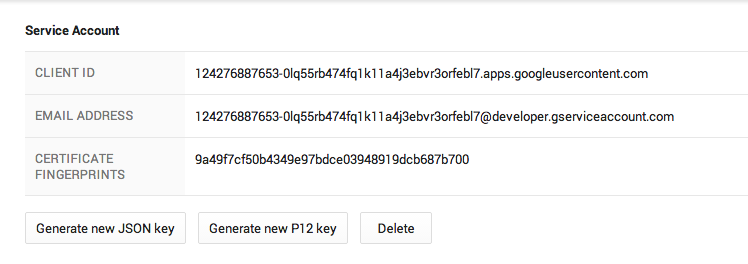
- Turn on any API you wish to use
Delegating domain wide access
Now the fun bit. Remember the earlier bit about the 3 legged oauth process that delegates access to the application by the user? In the Service Account scheme, it becomes a 2-legged process where we don't need the user to approve access.
To do this, you need to go into the Google Apps Admin console and indicate which scopes the service account has access to. Think of scopes as permissions (e.g. ability to read calendar, ability to create entry). In the 3 legged flow, this is done using the consent screen ("Ability to post on your timeline, Get your friends list to spam them :trollface:, etc"). However, for the service account, we do it here:
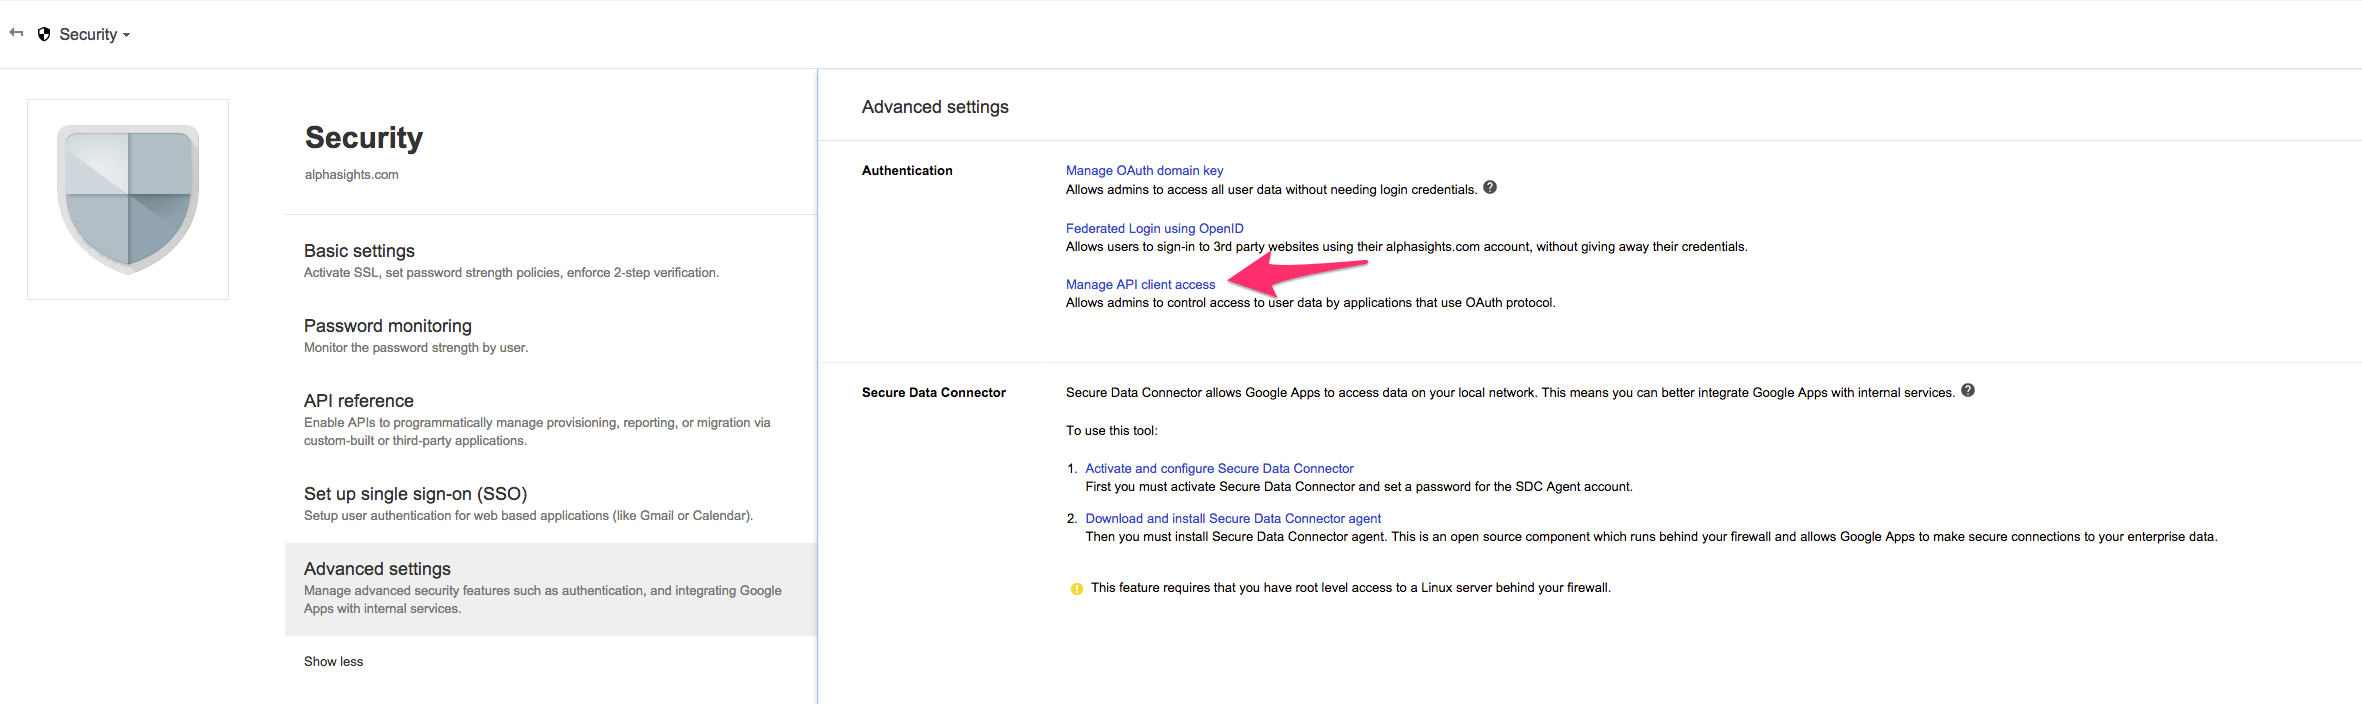

Only a Google Apps Admin can do this.
The client id from your Google API project (the string without @) goes into "client name" field (I think of it as a unique identifier for the service account) and scopes required goes into the "scopes" field. You can see a full list of Google APIs and their scopes here.
Now you have full access to make requests for the above scopes on the behalf of users in your organiztion.
Time for impersonation

If you're using Ruby, there's a library, google/google-api-ruby-client, that makes authorizing and working with Google's calendar APIs easy.
# GSA => Google Service Account
class Google::ServiceAccount
  def initialize(person: nil, scopes:)
    @person = person
    @scopes = scopes
  end

  def authorized_client
    @authorized_client ||= Google::APIClient.new(application_name: "Octopus", application_version: "0.1.0").tap do |api_client|
      api_client.authorization = Signet::OAuth2::Client.new(client_secret)
      api_client.authorization.fetch_access_token!
    end
  end

private
  attr_reader :person

  def signing_key
    # This oddity is because I'm using Heroku and storing the secret key as string ENV variable
    @signing_key ||= OpenSSL::PKey::RSA.new(ENV["GSA_PRIVATE_KEY"].gsub("\\n", "\n"), 'notasecret')
  end

  def scopes
    Array(@scopes).join(" ")
  end

  def client_secret
    {
      signing_key: signing_key,
      token_credential_uri: "https://accounts.google.com/o/oauth2/token",
      audience: "https://accounts.google.com/o/oauth2/token",
      issuer: ENV["GSA_CLIENT_EMAIL"],
      person: person,
      scope: scopes
     }
  end
end
If you're using Heroku, see this dude's blog on how to store Google's private key in an ENV variable.
The API service is essentially the same for all google apis and the authorization is hot swappable (you can use any flow to get the oauth access token). But since I'm only using the service account for the server side, I decided to be lazy and encapsulated everything in a service class which has one method #authorized_client that returns the authorized client given the scopes and impersonated person.
def client
  @client ||= Google::ServiceAccount.new(
    person: "daniel.jackson@sgc.com",
    scopes: ['https://www.googleapis.com/auth/calendar']
  ).authorized_client
end
You can now access the API via methods like client.discovered_api('calendar', 'v3'), client.execute(...).